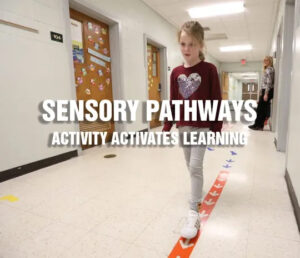
Installing vinyl sensory pathways can be a fun and engaging way to add a sensory experience to your classroom or hallways space. Here are some general steps you can follow:
- Choose your desired sensory pathway. Consider the age range and abilities of the users, as well as the space available.
- Gather materials: You may need masking tape, a measuring tape, a squeegee. Most of our kits include squeegees.
- Prepare the surface: The surface should be clean, dry, and free of any debris. If necessary, sweep or power wash the area before starting.
- Apply Decals: Starting at one end of the pathway, apply adhesive to the surface, using the squeegee press the decals firmly to the surface.
- Place vinyl tiles: Place the vinyl tiles or strips onto the adhesive, making sure they are level and aligned properly.
- Allow adhesive to dry: Follow the manufacturer’s instructions for drying time.
- Test the pathway: Once the adhesive is dry, test the pathway to make sure it is secure and safe for users.
-
Product on sale
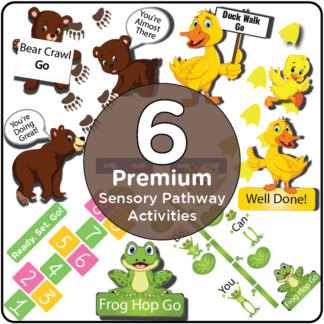 Anti Slip Safety First – Premium 6 Course Classroom Sensory Pathway – 70 Decals -Hallway Circuit Course – Get Those Wiggles Out (Anti-Slip High Density Vinly)Original price was: $375.00.$199.99Current price is: $199.99.
 -
Product on sale
 Premium Space Adventure Themed Classroom Sensory Path Kit – 55 Premium Vinyl DecalsOriginal price was: $250.00.$99.99Current price is: $99.99.
 -
Product on sale
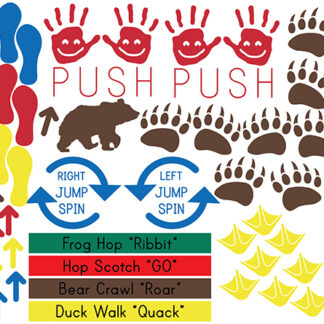 Deluxe Vinyl Sensory Path Kit – 8 Sensory Activities – 110 + Custom Vinyl Decals – Elementary School HallwaysOriginal price was: $299.99.$99.99Current price is: $99.99.